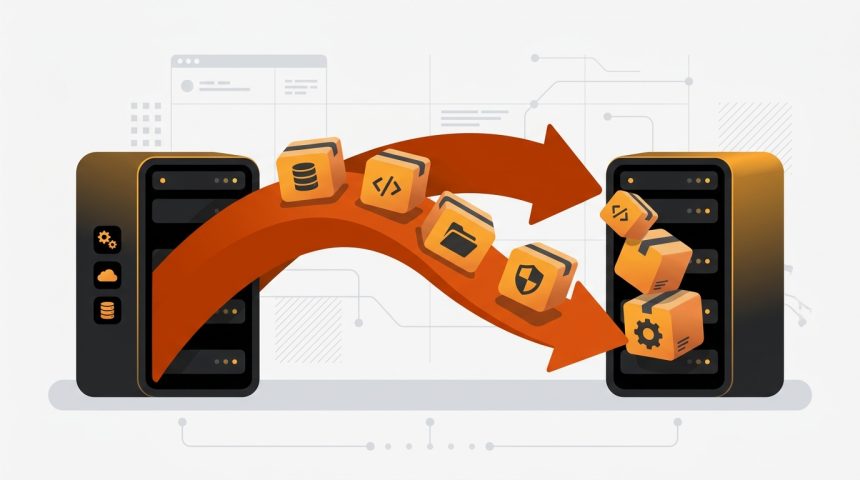
Sooner or later it's time to migrate WordPress: because the hosting has become too small, because support stops responding, because you find a better offer, or simply because the website has grown and needs a server to match. And it's normal for the process to inspire respect, because a poorly done migration can result in broken links, missing images, forms that don't send, or even a drop in search engine ranking. The reality, however, is that migrating a WordPress website is a mechanical and predictable process when the steps are followed in the correct order: copy files and database, recreate the website on the new server, adjust the configuration, privately verify that everything works, and only then, point the domain to the new hosting. In this guide, we cover the complete process, both with a plugin and manually, with the final checklist that separates an amateur migration from an impeccable one, without losing content or SEO along the way.
Before starting: preparation and decisions
A good migration is won before moving a single file. Dedicate a few minutes to these preparations:
- Choose the destination well. If you are migrating due to performance or support issues, make sure the new provider truly solves them: check PHP resources, available versions, automatic backups, and real support. Our guide on what hosting you need for WordPress and the review of the 5 types of WordPress hosting will help you decide wisely.
- Make a full backup (files + database) and save it outside the current server. It's your safety net if something goes wrong.
- Gather credentials. Access to the old and new hosting panels, SFTP for both, and access to the domain manager (where DNS are changed, which can be the hosting itself or a separate registrar).
- Lower your DNS TTL a day before if you can (for example, to 300 seconds). This way, subsequent propagation will be much faster.
- Choose a low-traffic moment for the final change: in the early morning or on the weekend if your audience is national.
An important nuance: migrating hosting while keeping the same domain does not affect SEO if done correctly, because the URLs do not change. Google doesn't even notice, beyond (hopefully) noticing that the website is faster.
Method 1: migrate with a plugin (the recommended way)
For most websites, a migration plugin is the fastest way with the least margin for error. The two most reliable:
- Duplicator. Packages the complete website (files + database) into a compressed file along with a PHP installer. It's the classic migration method.
- All-in-One WP Migration. Export everything to a single file
.wpresswhich you then import into a clean installation. Extremely simple, although the free version limits the size of the file to import.
Step-by-step migration with Duplicator
- On the old website: install Duplicator, create a new package, and download the two files it generates: the ZIP with the website and the
installer.php. - On the new hosting: create an empty database from the panel (note down name, user, and password) and upload the two files via SFTP to the domain's root folder.
- Run the installer by visiting
http://tu-ip-o-dominio-temporal/installer.php. Most hostings offer a provisional URL or a preview to work with before changing the DNS. - Enter the database details new when the wizard asks for them. Duplicator unzips the files, imports the database, and rewrites the URLs if the path has changed.
- Log in to the dashboard with your usual credentials and check that the website looks and works correctly.
- Delete the installer files (the plugin itself offers a button to do so). Leaving an
installer.phpaccessible is a serious security hole.
Method 2: manual migration, step by step
Manual migration is the universal plan B: it works with huge websites that exhaust plugin limits, with half-broken installations, and with restrictive hostings. Furthermore, understanding the process gives you total control.
Step 1: copy the files
Connect via SFTP to the old hosting and download the complete installation folder (recognizable by wp-admin, wp-content y wp-includes). Then upload it to the root folder of the new hosting.
Step 2: export and import the database
In phpMyAdmin of the old hosting, select the database and use Export in SQL format. On the new hosting, create an empty database with its user, open it in phpMyAdmin and use Import with the downloaded file.
Step 3: adjust wp-config.php
Edit the wp-config.php that you uploaded to the new server and update the credentials to point to the new database:
define( 'DB_NAME', 'nombre_bd_nueva' );
define( 'DB_USER', 'usuario_bd_nueva' );
define( 'DB_PASSWORD', 'contraseña_bd_nueva' );
define( 'DB_HOST', 'localhost' ); // o el host que indique tu hosting
Step 4: review URLs if the domain changes
If you keep the same domain, there's nothing to touch. If the website changes domain or moves from a subdirectory to the root, the old URL must be replaced with the new one in the database. The safe way to do this is with WP-CLI, which also updates serialized data:
wp search-replace 'https://dominio-antiguo.es' 'https://dominio-nuevo.es' --all-tablesAvoid direct SQL replacement on serialized data: it can corrupt theme and plugin options. If you don't have WP-CLI, plugins like Better Search Replace do the same job from the dashboard.
The DNS change: the moment of truth
With the website already working on the new server (verified by the provisional URL), the last step arrives: pointing the domain to the new hosting. You have two options depending on your case:
- Change the nameservers (NS) of the domain to those of the new provider. This is common when the new hosting will also manage the DNS.
- Change only the A record of the domain to point to the new server's IP, maintaining the current DNS manager. More surgical and faster propagation.
Propagation can take from minutes to 24-48 hours, although with a previously lowered TTL, it's usually a matter of an hour. During that period, part of the traffic will reach the old server and part the new: that's why it's advisable to keep the old hosting active for at least a week, with the website intact, until confirming that everyone is already seeing the new one. Do not cancel the old contract on the same day of the migration.
Also remember the SSL certificate: issue a new one on the destination hosting (almost all offer free Let's Encrypt with one click) as soon as the domain points there, or activate it beforehand if your provider allows it. A website that migrates and loses HTTPS generates security warnings in the browser and a drop in visits.
WordPress Migration Checklist
The migration doesn't end when the homepage loads. Review this list on the new server:
- General navigation: homepage, old posts, pages, categories, and internal search engine.
- Images and media: open the media library and several posts with images; if they are missing, the folder
uploadswas not copied completely. - Permalinks: go to Settings → Permalinks and click Save Changes to regenerate the rewrite rules.
- Forms: send a test from each form and confirm that the email arrives. Email is what suffers most when changing servers; if it doesn't arrive, configure SMTP.
- Private area and purchases: if there's WooCommerce or memberships, place a test order and a customer login.
- SSL certificate: check the padlock in the browser and that http and www versions redirect to the canonical URL.
- PHP version: take advantage of the launch to work with a modern version; in addition to security, you'll gain speed, as we explain in the guide for speed up WordPress with PHP settings.
- Scheduled tasks and backups: reconfigure the backup plugin and verify that WP-Cron events are running.
- Search Console and Analytics: you don't need to touch anything if the domain doesn't change, but monitor coverage in the following days for any crawling errors.
Typical problems when migrating and their solution
| Symptom | Probable cause | Solution |
|---|---|---|
| Database connection error | Incorrect credentials in wp-config.php | Check DB_NAME, DB_USER, DB_PASSWORD, and DB_HOST with the new hosting's data |
| Homepage fine, rest of pages 404 | Rewrite rules not regenerated | Save permalinks again; check that .htaccess exists |
| Broken images | Incomplete uploads folder or URLs not replaced | Re-upload wp-content/uploads; run search-replace if the domain changed |
| Redirect loop | Mixed http/https or inconsistent site URLs | Unify siteurl and home with https and review the hosting's SSL configuration |
| White screen or 500 error | Incompatible PHP version or memory limits | Adjust the PHP version in the panel and check the error log |
| The old website still appears | DNS propagation in progress or cache | Wait, clear local cache and check the IP the domain resolves to |
If after the transfer you decide to start a new installation from scratch on the new server, we have a definitive guide to installing WordPress that covers all possible avenues.
Frequently Asked Questions
How long does it take to migrate WordPress to another hosting?
A small or medium website can be migrated in one or two hours of effective work with a plugin, plus DNS propagation time (minutes to 48 hours). Very large websites, with many GB of media, may require several hours just for file transfer.
Is SEO lost when migrating WordPress?
No, if you keep the same domain and the same URLs: for Google, the website simply changes IP, which is completely normal. There is only a risk if you change the domain or URL structure, in which case you will need well-planned 301 redirects.
Can I migrate WordPress without downtime?
Practically yes. Since you set up and verify the website on the new server before touching the DNS, both copies coexist during propagation, and visitors always see a functional website. Only on websites with very dynamic content (stores, forums) is it advisable to freeze changes during the propagation window to avoid losing orders or comments on the old server.
Should I migrate it myself or ask the new hosting to do it?
Many providers offer free migration when you sign up, and it's usually a good option: they know their platform and take responsibility. Even so, make your own complete backup before handing them the keys, and run the final checklist yourself.
Conclusion
Migrating WordPress stops being scary when you understand the logic of the process: the new website is built and tested in parallel, and the domain is only pointed to the new server when everything is verified. With this sequence, the margin for disaster is minimal, and you always keep the old hosting as a safety net. Choose the method according to your case (plugin for most, manual for large websites or special situations), don't skip the prior backup or the subsequent checklist, and keep the old hosting alive for a few days. A well-executed migration not only loses nothing: it's usually the best time to debut modern PHP, renewed SSL, and a server that finally supports the project.